Wednesday, April 21, 2021

Building the Loco area

 The first two baseboards have been assembled in the bedroom so next will be the laying out of the track to see how it all looks. Although it is better to plan out the layout on paper you can't get the perspective that happens when you actually lay the physical track, models and buildings onto the actual board. One great tool to use is by going onto the Peco web site and printing off actual size paper templates, cutting the out and putting into position on the baseboard. This will then prove if you have enough room for everything planned. They don't do a template for plain track but it is easy to lay down some flex track between the paper points.

Track is laid out to see how it all fits


Laying out the track design from the door end

In the above photo the track design is fine tuned to the required finished product. It was decided to use the Peco code 75 medium length points rather than the long points to save space. And as one end was near what will be in the future the connecting piece across the door, curved points were often used. Also where the level and railmotor are shown will be a passenger platform, the only one on the layout. It will be an island platform and cut to go across the join. Access will be by subway stairs and overbridge stairs at the other end.

Some National Rail locos awaiting track to be laid


Down at the turntable end

The tracks are finally getting into the right position

After many adjustments the track finally gets into the right position in the draft layout. The paper points are tacked with glue to hold their spot. It is planned to use mainly new points and track where possible but I may resort to using second hand track and points mainly in the yards. A combination of above and below Peco point motors are also installed along the way, these will be worked from a central panel near the turntable at a later stage. 
The main line track will be laid on cork so that when the ballast is added it will look like a shoulder of ballast and the tracks in the yards will not have ballast only dirt, but this will be a while off.
First sections of track are laid

Finally the first sections of track are finally laid and it's a good feeling. It is unknown when the track will finally encircle the room to allow operation but there is plenty of testing and future planning as we go along.

Tuesday, March 16, 2021

Making a start

 It has been quite a while since the last post back on the 13th November last year. You should go back and refresh and read this entry and this sets out all the proposals for the layout, now comes the practical part where the tools come out and a start can be made.

The baseboards will be built using 70mm x 20mm pine for the framework and 7mm ply for the top. As with the plan a start was made on baseboard No.1. This baseboard combined with baseboard No. 2 will contain the loco depot and an island passenger station. There are limitations on the size of the baseboards mainly based on how much room do you need left over for yourself? The finished plan provides a good balance and plenty of operation possibilities.

The ply and timber were obtained and a start was made on the first baseboard. Naturally the construction was carried out in the back yard and under cover in case of rain. A drop saw made sure the timber was cut to the right angle and more than one drill also made things easier. The frame was made and then the ply was added  to the top. To prevent moisture on the top layer it was painted with leftover paint, colour not being important as it will all be eventually covered over.

The baseboard for the first two boards was set at 119cm high and the track will climb to 123cm on baseboard No. 4. This will cut out having a flat track all around and will provide some effort from the locos to take trains around the layout. Most sidings will be level but unfortunately the coal siding on baseboard No. 6 will be on a grade, maybe the locos will have to be on the train permanently to avoid runaways?

One down, five and a liftout to go.

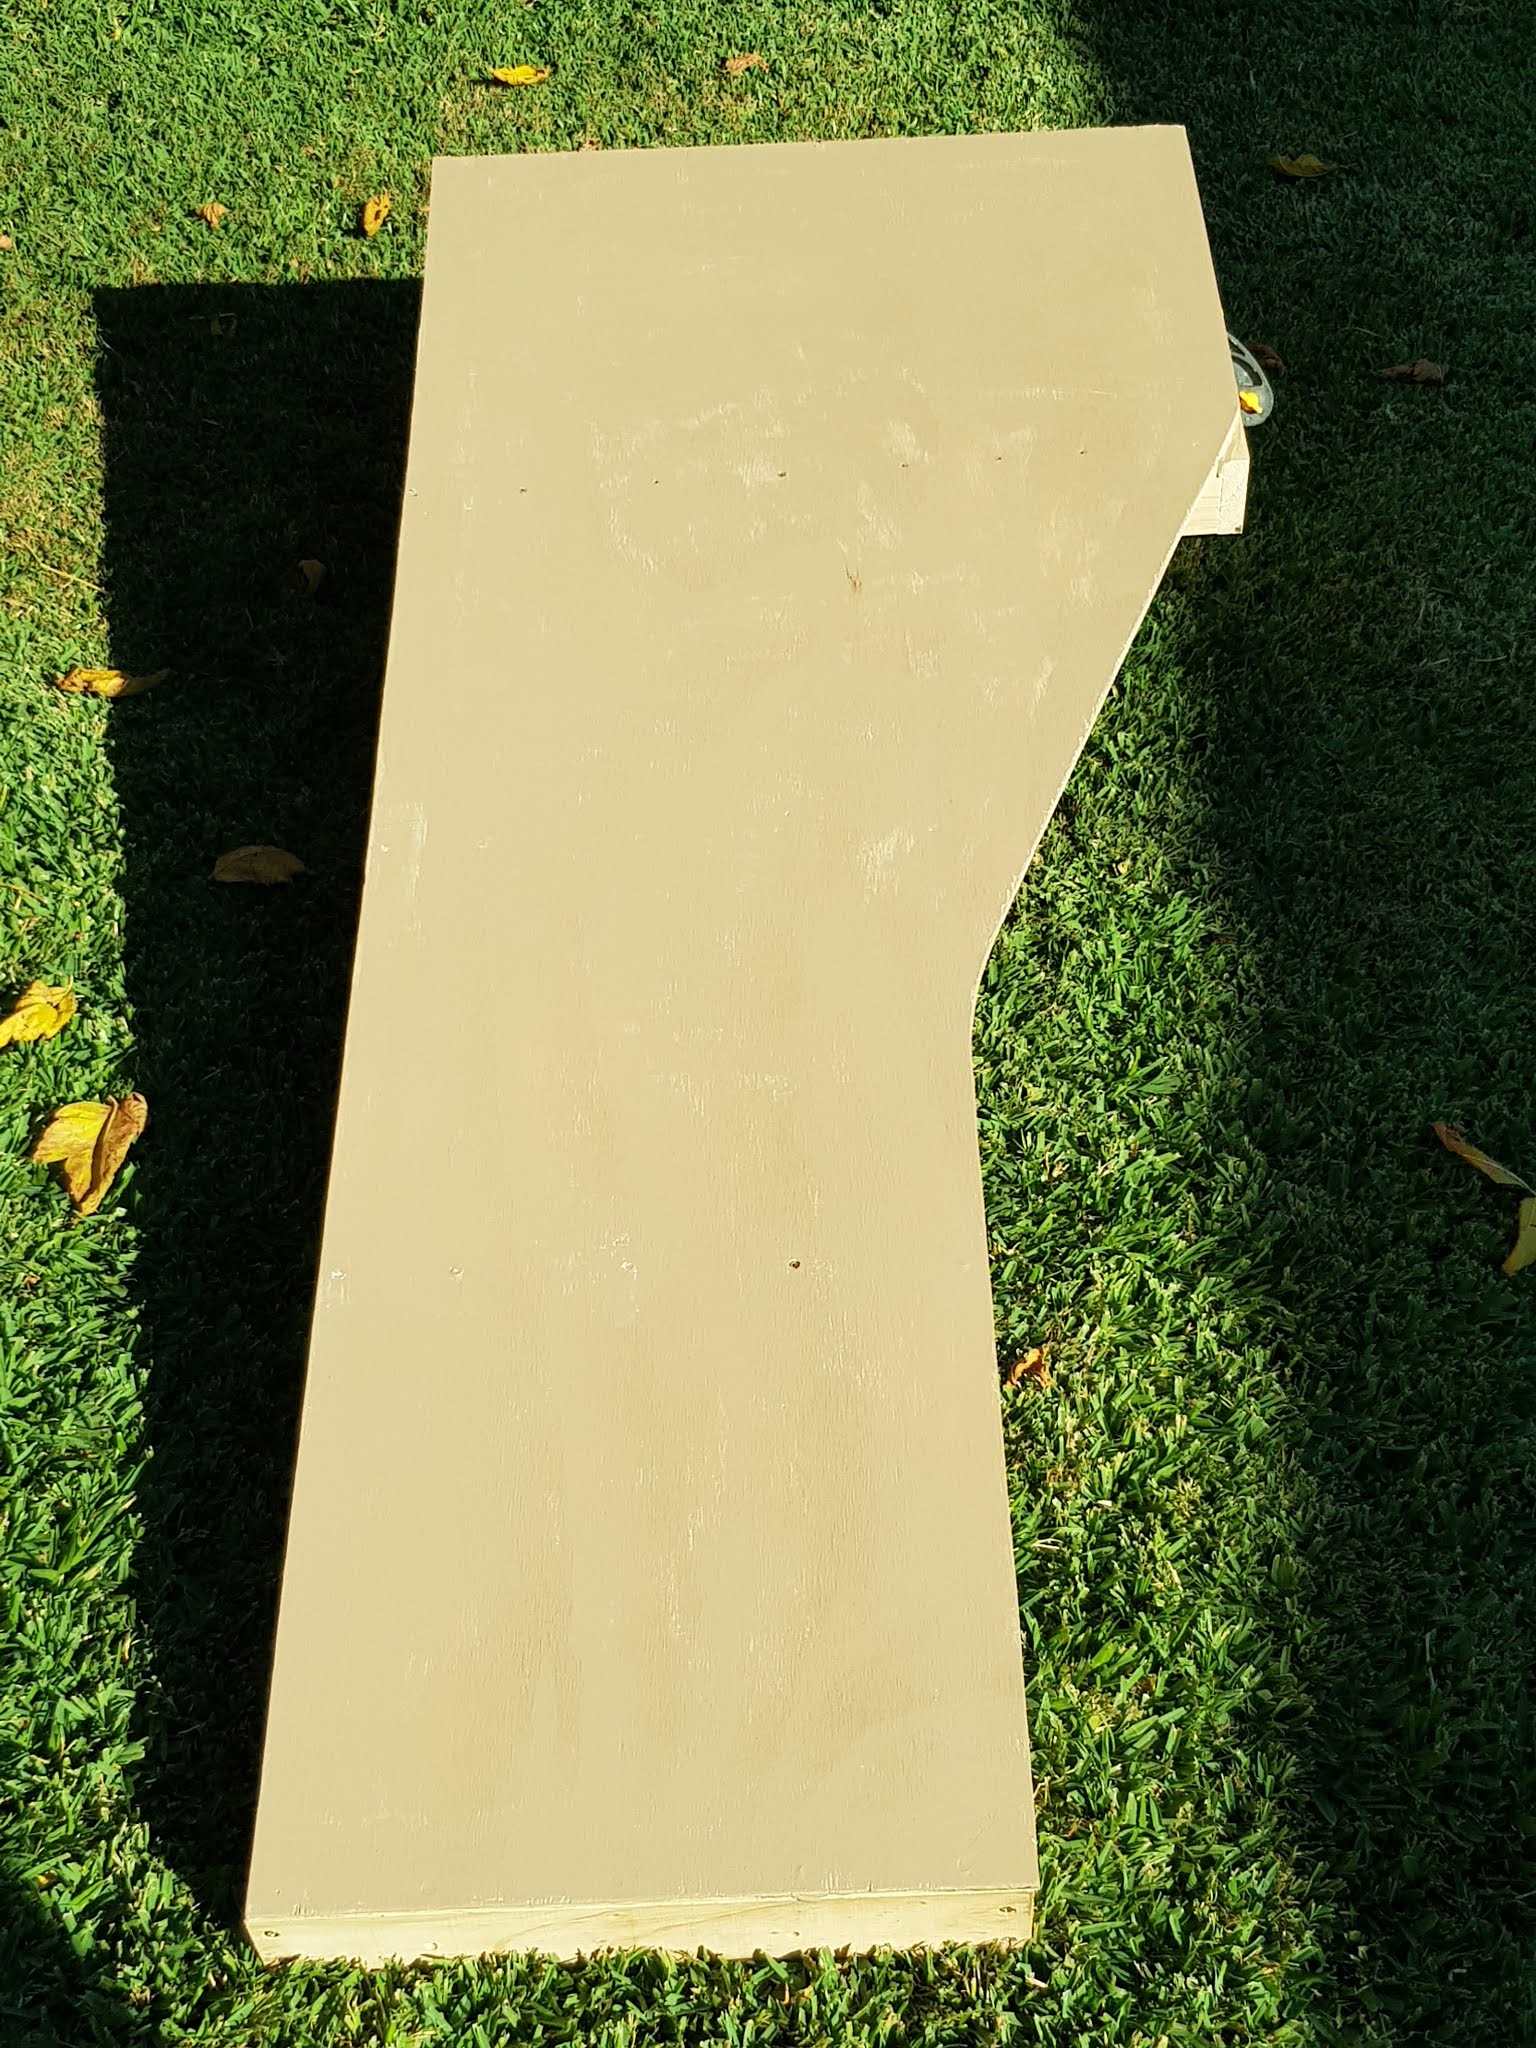
The first baseboard was constructed and all went well, The odd shaped corner was for the liftout section across the doorway and runs between this board and the last one to be built. The board is surprisingly light but strong. It is all screwed together making it fairly rigid. The holes for the wiring were yet to be made, easier to do them at this stage.
The second adjoining board is to contain the loco depot and this is to include a turntable when one becomes available. So at one end of this board it was made wider to accommodate the turntable, it was purely guesswork as to how wide it needs to be. Planning was done by dry laying track and points down on the ground to visualise how it would go.

Board No. 2 wider section to cater for the turntable
Having completed the two boards, they were both carried inside into the room to see how they would go. Legs were made for the first board and the second board was secured to the first using two bolts and wingnuts. There didn't seem any point in providing four legs for each section of baseboard. They were again dismantled and taken outside for painting the top of the boards.

A quick dry out in the sun

The first two boards are ready
It didn't take long to paint the first two boards, a sunny day helping along. There always seems to be leftover house paint that can be used in these projects, luckily the colour wasn't a purple or red.
In for the afternoon feed
One minor inconvenience in building the baseboards outside is the twice daily feed runs that two kookaburras head in for. There are usually two and sometimes three when the junior kookies are around and will land usually on the table waiting for the meat to be brought out. As you can see the baseboard was in the way of their usual landing strip so that's where they landed. They only come in for a quick feed and then they fly off until the next day. The table was rather cluttered with tools and junk so I think he made a good choice on that spot.
Turntable area
The above photo shows where a turntable of some sort will go, the only large round shape around came out of the pot draw in the kitchen. We are still guessing at this stage how big the table will be.
Well the first two boards have been constructed and erected inside the room, the next entry will show how the tracks are dry laid out for these two sections.


Friday, November 13, 2020

The Finer details

The last post showed a concept drawing of what the layout might look like. It always pays to plan ahead with the ideas that you want to incorporate into a layout. Drawing up with a pencil on paper is a cheap way of transferring what you want in your head to a visual that can be easily understood.

You could take it a step further and use track designing software and get a closer to final design.

Keeping in mind that the layout is also a bedroom there is a fine line on how much real estate you can hand over to the layout and still be comfortable with the space left over. There has to be room for a desk, computer server, bedroom furniture and of course a bed. And by using the room that used to be a single car garage, it is the ideal shape to have longer sides to form storage for freight and also the loco depot area.

The baseboard designs

The above plan shows how the baseboards will sit in the room. As can be seen, no two boards are the same. I am not sure if this design fits the 'module' concept where many modules are a standard size. The boards will be produced numerically clockwise around the room and will manage to fit in around certain items of furniture. A desk will be under Baseboard 3. This will mean a narrow board to be just wide enough for the double main line to skirt the rear of the desk and allow monitors to be placed in front. The placement of a computer server under Baseboard number 4 has been good and bad news. This will be the highest area of the layout and the baseboard designed to allow the server to be removed at any time if needed. This will also allow for a grade to be built in and take away the flat 'Nullabor' feel. Baseboard 5 will be level and Baseboard 6 will be where the track will drop level back to that of Baseboards 1 and 2.

The track design for the layout.


As can be seen from the above plan this represents what will probably be the final track layout design. The track will be Peco code 75 track and their medium points will be used in lieu of their longer points to enable more siding length to be provided. There will also be a crossover on the liftout section which will enable mainly light locomotives to be able to return back to the loco area. It will also allow a coal train travelling in the anti-clockwise direction to have direct access to the coal siding located in the far corner of Baseboard 6. The two container sidings will also fill a corner over the server box.

The planned location of structures

The above plan shows where the various items will be placed. Basically the top of the plan area provides for all the loco requirements. This will include a turntable with external roads for loco storage. A Fleischmann electric turntable was sourced from the Castle Hill Model railway exhibition back in 2019 at the second hand stall and will be installed in the loco area. The baseboard will need to be wider at this point to accomodate the turntable and tracks. There will be a passenger platform also on this baseboard, nothing fancy just an island platform where passengers get on, do a lap and then get off at the same station. All the points on these two boards will be motor worked by a panel to be located at the front of Baseboard 2. At Baseboard 3 this will be where the tracks start to rise up towards Baseboard 4. It is hoped the grade will not be too severe.

Baseboard construction will be covered in the next post.

Saturday, September 26, 2020

And so it begins

When starting the layout there were certain features that I wanted to incorporate into the design. Some of these features are:
  • Locomotive Depot
  • Double Track
  • Freight Sidings
  • Industries (Coal, Oil, Goods, Cement)
  • Container Sidings
  • Turntable
  • Passenger Platform
The layout baseboards are constructed as modules to allow future removal. Because I also reside in the bedroom, it limited the width of the layout to 40cm where the yard and engine depot are but baseboards in other areas are narrower. However the baseboard was made wider to incorporate the turn table and some industries in the corners.
The first track design plan is shown below, which is close to the final design.

Rough first track design

Locomotive Depot

As I wanted to run both diesel and steam locomotives this area needed to provide servicing for both types. This will include inspection pits, water column, sanding tower, turn table and ash pits.There will be a diesel shed for diesels and a turntable with storage tracks for the steam engines.

Double Track

The layout was designed to be double track for multiple train operation but we can also have one track closed for single line operation.Trains will need to access yards and loco depot using both tracks. Various crossovers between the up and down mains will allow this to happen. There will be relief sidings for the up and down main to store and pass other trains.

Freight Sidings

There will be two long dead end sidings for storage and shunting of trains on the opposite side of the room from the loco depot beside the relief lines.

Industries

To add interest to operation there are four industries; coal, oil, goods and cement. Three of the industries are going to be dead-end sidings but the coal loader will be on its own siding that can be entered and exited from both ends onto the main line. 

Container Sidings

Two dead end sidings will be provided for container train operations, they will hold around five wagons in each siding. These sidings are accessed through a diamond crossing which comes off a relief road. There is currently thirteen container wagons so shunting will be required to load/unload the entire train.

Turntable

Having steam and single-ended diesels on the layout the turn table is a necessity to be able to turn the engines around. It has twelve storage roads of various lengths around the turntable. I was lucky enough to obtain a second-hand Fleischmann 90-foot motorised turntable from the Castle Hill model railway exhibition in 2019. As the layout runs on DCC we added a frog juicer to automatically reverse the polarity as the turntable turns.

Passenger Platform

As I will be running passenger trains an island platform will be located opposite the loco depot along the main lines. There was not enough room to incorporate a second station on the opposite side of the layout. Additional freight storage was decided on.

The next post will cover baseboard construction.

Saturday, August 8, 2020

In The Beginning...

Background

I was lucky to have grown up with access to a large HO model layout that my father and I built together in a shed in the backyard. Some time into my 20's of age I stopped being interested in model trains as my interest in computers grew.


When I heard that Auscision was going to do a DCC/Sound version of the 'C' Class Locomotives a few years back, I pre-ordered some and started to get interested again in model trains, sound adds another dimension to modelling.


By this stage my father had converted from HO to On30 Narrow Gauge (Puffing Billy) in the shed which is the wrong scale for my ordered rollingstock of HO. I jokingly said I should build a HO scale layout in my bedroom expecting to hear no, but he agreed and planning started not long after.


The bedroom is roughly 5.5m x 2.8m wide and we decided to place it around the four walls with a pullout section where the door is to make a continual loop. The only requirements I gave were a turntable, coal mine and double track main, I can have one of those tracks busy with maintenance to go back to single line.


This blog will follow the construction/running of the HO scale layout, which I am calling "East Coast Rail"